Understanding Laptop Vents
Laptop vents play a crucial role in maintaining optimal performance by facilitating airflow and cooling the internal components. Over time, dust and debris can accumulate in these vents, leading to overheating and reduced efficiency.
Why Cleaning Laptop Vents is Important
Regular cleaning of laptop vents is essential for several reasons:
- Prevents Overheating: Dust buildup can block airflow, causing the laptop to overheat.
- Enhances Performance: Clean vents allow the cooling system to work effectively, improving overall performance.
- Extends Lifespan: Regular maintenance can prolong the life of your laptop by preventing heat-related damage.
How Often Should You Clean Laptop Vents?
The frequency of cleaning laptop vents depends on various factors, including usage, environment, and the design of the laptop. Here are general guidelines:
1. Regular Use in Dusty Environments
If you frequently use your laptop in dusty or dirty environments, you should clean the vents every 1 to 3 months. This will help maintain airflow and prevent overheating.
2. Occasional Use
3. Signs Indicating Cleaning is Needed
Regardless of your cleaning schedule, certain signs indicate it may be time to clean your laptop vents:
- Increased Fan Noise: If the cooling fans are running louder than usual, it may indicate blocked airflow.
- Heat Build-Up: If your laptop feels excessively hot during use, it’s time for a cleaning.
- Performance Issues: Sluggish performance can also be a sign of overheating due to clogged vents.
How to Clean Laptop Vents
Cleaning laptop vents can be done at home with some simple tools. Here’s a step-by-step guide:
What You’ll Need
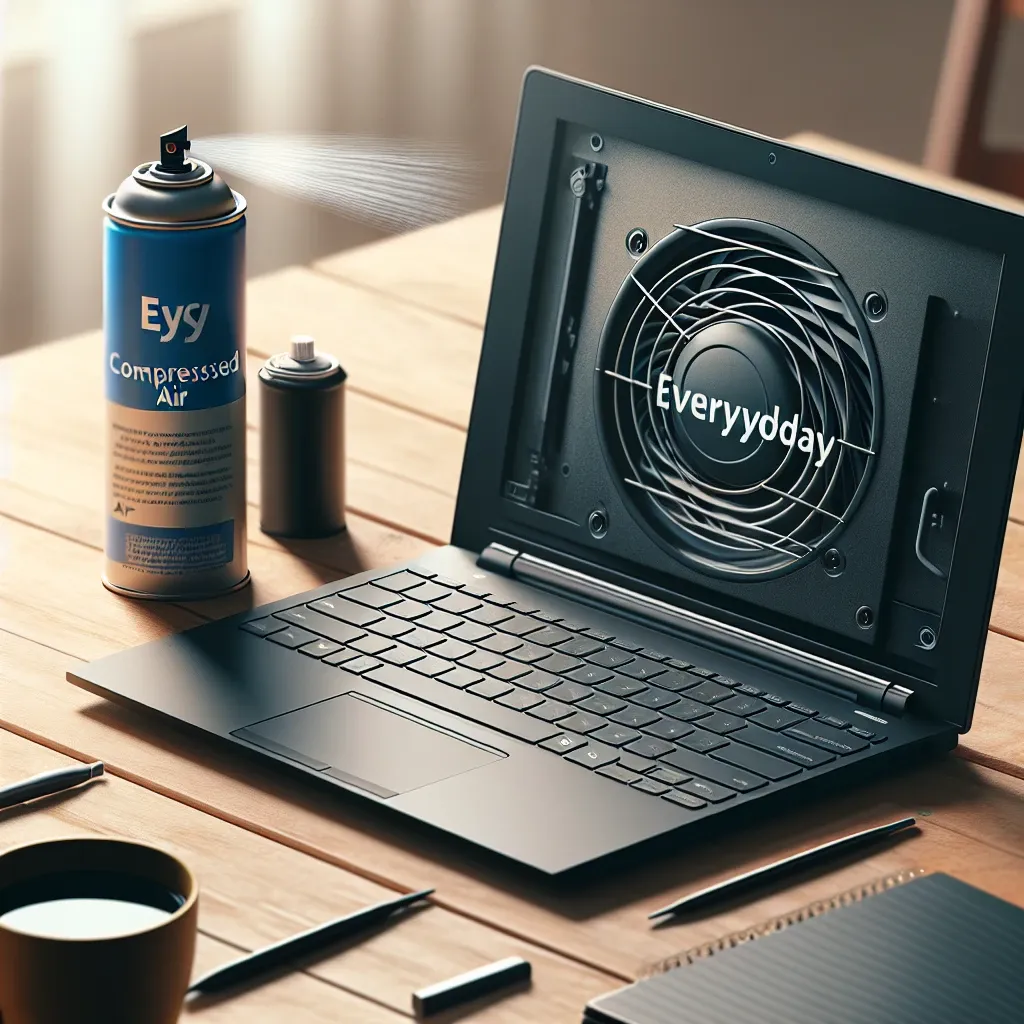
- Compressed air canister
- Soft brush or microfiber cloth
- Screwdriver (if opening the laptop is necessary)
Step 1: Power Down and Unplug
Before you start, ensure the laptop is turned off and unplugged to avoid any electrical issues.
Step 2: Inspect the Vents
Locate the vents on your laptop and inspect them for dust buildup. This will give you an idea of how much cleaning is needed.
Step 3: Use Compressed Air
Take your can of compressed air and gently blow air into the vents to dislodge any dust. Make sure to hold the can upright to avoid moisture buildup.
Step 4: Brush Away Remaining Dust
If there’s still dust present, use a soft brush or microfiber cloth to gently wipe the area around the vents.
Step 5: Reassemble (if necessary)
If you opened the laptop, carefully reassemble it, ensuring all screws are properly secured.
Professional Cleaning Services
If you’re uncomfortable cleaning the vents yourself or if the laptop requires a more thorough cleaning, consider seeking professional help. Many computer repair shops offer cleaning services that ensure your laptop is properly maintained.
Conclusion
Keeping your laptop vents clean is critical to ensuring optimal performance and longevity. By following a regular cleaning schedule based on your usage and environment, you can prevent overheating and maintain your laptop’s efficiency. Remember to look for signs that indicate it’s time to clean and don’t hesitate to seek professional assistance if needed.
Leave a Reply